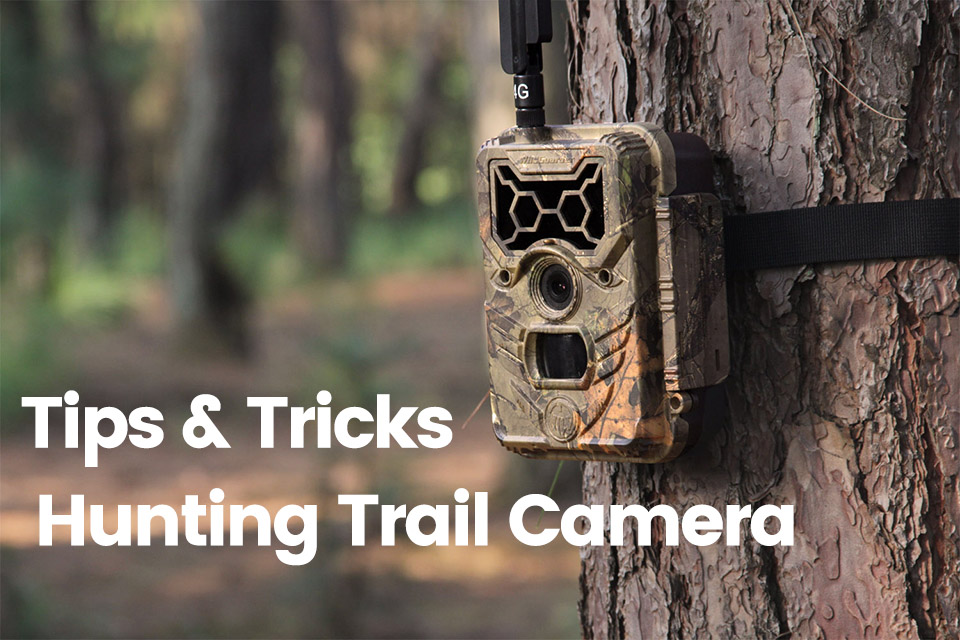
Essential Hunting Trail Camera Tips & Tricks
Hunting trail cameras have come a long way. Tech has advanced fast! But are you using them right? Struggling with whiteouts, false triggers, or missing parts of your target? Battery life giving trouble? Maybe bears, people & even ants are messing things up. Years of using trail cameras have shown me most issues firsthand. Below are key tips to avoid common camera troubles.
Reducing False Triggers
False triggers? They happen. Even with top cameras. But they can be reduced. Start by trimming branches, tall grass & any moving objects in the frame. I’ve had thousands of pictures of nothing but swaying leaves. Spend a moment clearing the view. Helps cut false triggers & makes pictures better.
Next, avoid direct sunlight. Heat changes can cause false triggers. Secure cameras to solid trees or mounts. A shaky sapling? Bad idea. Lastly, tweak sensitivity settings. Some cameras have PIR sensors more sensitive than others. Adjusting them lower can mean fewer useless shots.
Keep Firmware Updated & Maintain SD Cards
Brands always try to boost camera performance. They release firmware updates to fix bugs, extend battery life & improve quality. Don’t skip them. Updates are free, easy & make a difference. Just check your manufacturer’s site for the latest version.
SD card upkeep is just as key. Replace damaged or non-working cards. Imagine checking a prime camera spot only to find a blank card—frustrating! Also, format the SD card before use. Ensure the “lock” switch isn’t turned on by mistake.
Maximizing Hunting Trail Camera Battery Life
Solar powered hunting trail camera setups save on batteries. Running 100+ cameras year-round, I go through plenty. Switching to solar & rechargeable options has helped. But I still use AA’s. From my tests, Energizer Lithium beats others. Pricey upfront—sometimes 3x more than alkaline—but lasts 4-5 times longer. In cold weather, lithium wins. Spending more actually saves money.
Want longer battery life? Set delay times to a minute or more. Especially if using feeders. For cellular models, limit uploads to 1-2 times daily instead of instant updates. Made a big difference for me. External power sources—solar panels, 12V & 6V rechargeables—also keep cameras running for months without upkeep.
Frame Your Hunting Trail Camera Shot
Ever checked your camera after weeks, only to see deer heads cut off? I’ve done it. Many times. Avoid this by taking extra steps at setup. Walk past the camera. See what it captures. I often place my backpack where I expect animals to walk. Snap a test shot. Check angle & height.
Positioning matters. Angling the camera along a trail instead of facing it directly gives better shots. It catches movement sooner & snaps multiple pics before the animal leaves the frame. Also, placing cameras slightly off-trail keeps them out of direct sight. Walk the path after setting up—helps predict the final shot.
Protecting Your Hunting Trail Camera
Unwanted visitors messing with cameras? We’ve all been there. Some have two legs, some four, others six or even eight. It’s frustrating. Lock boxes help. Bears, raccoons, livestock & squirrels usually can’t mess with them. These steel boxes also stop most people from tampering. But if someone is determined to steal your camera, they will. That’s why, in high-traffic areas, I avoid obvious spots. I mount cameras higher, out of sight.
Theft is bad. But ants? Worse. I’ve lost more cameras to ants than thieves! They sneak in through speaker ports, battery slots & weak O-rings. Once inside, they build nests, ruining everything. I suspect they sense the faint electrical pulses from cameras. My fix? A cotton ball with dried permethrin inside the housing. Nearly wiped out my ant problems.
Picking the Best Hunting Trail Camera Locations
Think outside the box when choosing spots! Consider the backdrop. Picture where your target animal will appear. A bad angle can ruin shots. If facing east, expect sunrise whiteouts. Facing north or south avoids this issue.
Good locations? Inside field edges, low spots & entry paths. Staging zones near food sources work well. Water sources are golden, especially in summer. Activity there will surprise you. In fall, focus on does. Where they go, bucks follow. Ridges above & downwind of bedding areas are prime. Bucks patrol these spots, scent-checking. Mock scrapes? Another winner. Some attract deer year-round. Once bucks start using them, they become must-watch locations.
Want better shots? Make animals stop. I’ve used store-bought scents, vanilla extract & even coyote scat. Animals pause to check it out, giving cameras time to snap clear images.
Hope this helps! Maybe it saves money or lands that perfect shot. Quality images mean better data. Hunting trail cameras keep us connected to the wild, even when we’re not there. They’re essential for hunters, gamekeepers & researchers. Plus, those cold, wet tree stand sits? A lot better when you know a trophy buck is nearby.
